Friday, November 4, 2011

Tissue holder - "Gifty Project" shown at October Meeting

Here is a little project to make a fabric cover for those little packs of tissues you carry in your purse.
I do realize that having a fabric cover for your purse tissues is completely unnecessary; the little tissues already come in a plastic sleeve! But to me, a project doesn't have to be useful  if it is only made out of scraps.

You can make a tissue holder that matches your purse. Very stylish I'm sure.


There are probably lots of easy ways to make this, but I wanted mine to have no raw edges -- even on the inside. It is not cool if you pull out a tissue and it has threads stuck to it.

Tissue holder                  Cut fabric 6x14”
With RST (right sides together!) sew across 6” ends together to form a loop. Leave a large gap for turning. Turn loop right-side out and flatten, leaving seam side up. Seam should be off-center as shown.

Fold over left and right edges, with slight overlap in th center and iron into place to crease folds well.
Turn loop wrong side out and refold, so that overlapping occurs neatly inside. Side view of the loop below:


Flatten again and sew across each raw edge. Find the turning hole and turn inside out. Flip the flaps to other side.

Christmas Tree Skirt Instructions and Demo

At the October meeting, Nan Sanborn demonstrated how she and her sister make quilted Christmas tree skirts. She handed out diagrams and instructions. Her diagrams and instructions can be found here Tree skirt instructions.

Nan also provided a full size template for cutting the wedges of the tree skirt. If you were not at the meeting to get one of her templates, check with Nan, or ask to trace someone else's. Nan noted that newer fabric keeps getting narrower. Her instructions were written for 45" width fabric. You can still use the same instructions for the new narrower (42"?) fabric, but instead of lining up the short edges of the strips, the strips have to be shifted/staggered to fit the template as shown at right.

Coin Purse with window - October Meeting Demo

I found these instructions on the internet for making  a cute little coin purse with a window in it to display your ID or a picture. It's called the all-you-need-bag.
Click on picture for full instructions.


The instructions are fine, but the first little bag I made didn't turn out exactly like I wanted it to, so I made some notes as to what to do differently. So, hopefully if you make one, your first one will turn out perfectly.

The pattern describes  a super easy technique for putting in a zipper. This method could be adapted to make little zippered bags of all sizes. I plan to make an eyeglass case and an make-up bag to match.

The pattern calls for 2 fat quarters, but I've added cutting diagrams and you need only two pieces 7x9".
Here are the cutting diagrams and the rest of my notes.

Click on picture to see full sized.

Thread Catcher Project from October Meeting

Click on picture to download pdf instructions  for the thread-catcher project shown at the October meeting. I happened to inherit some fabric that has textured rubbery dots on it. I'm sure it was for making non-slip soles on toddlers footy pajamas. It helps a little, to put this on the underside. But my first one did not have it, and so it  probably not necessary.
Wednesday, November 2, 2011

October Quilt Group

We had a good time! Here are some pics:

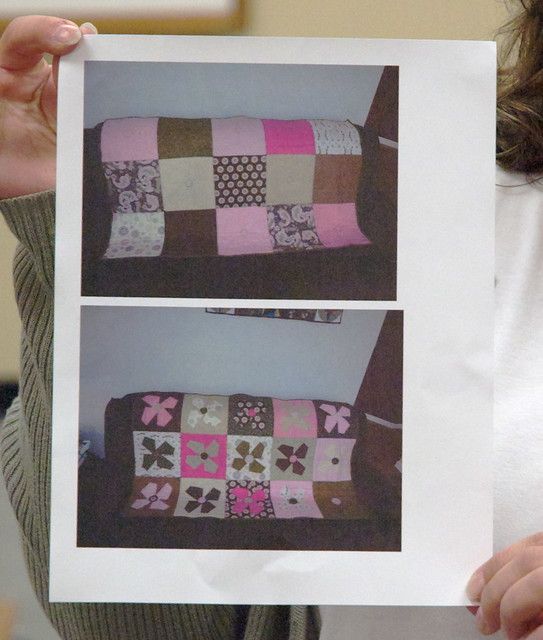
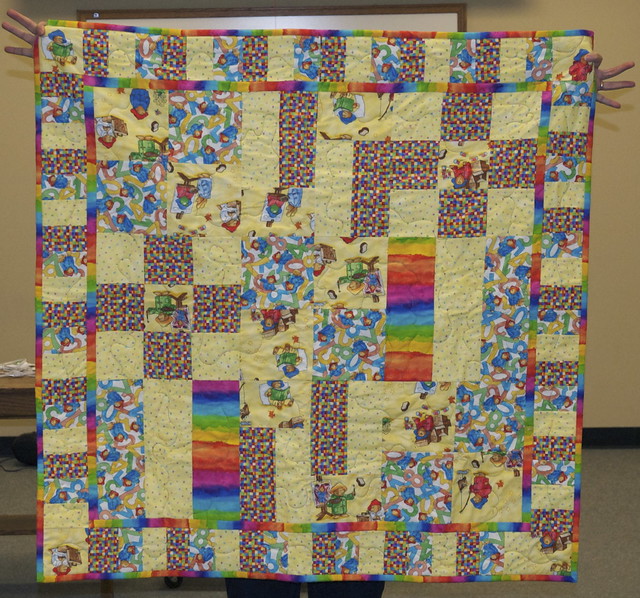
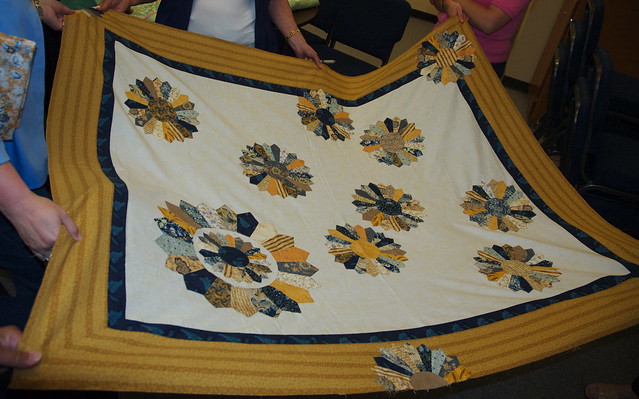
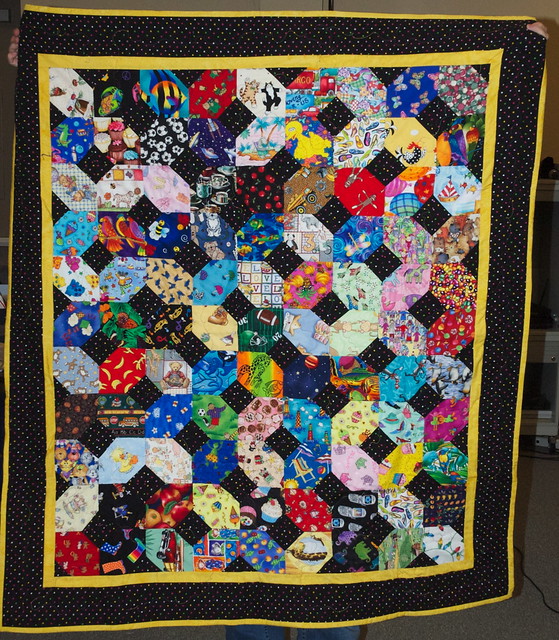
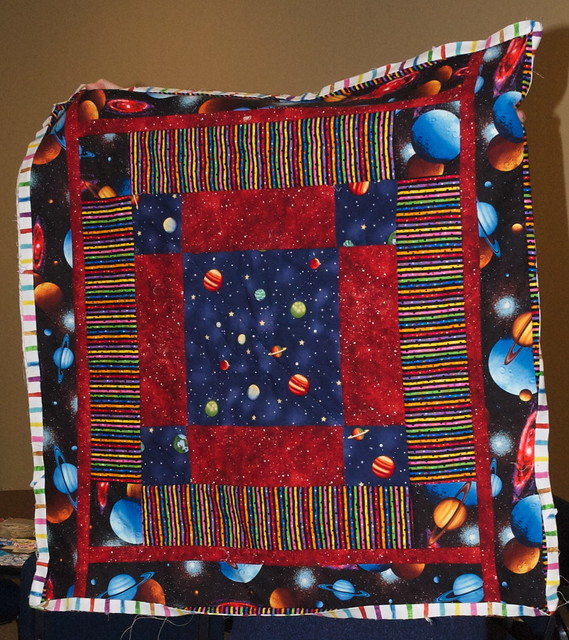
Diana made a quilt that she already gave to her sister.
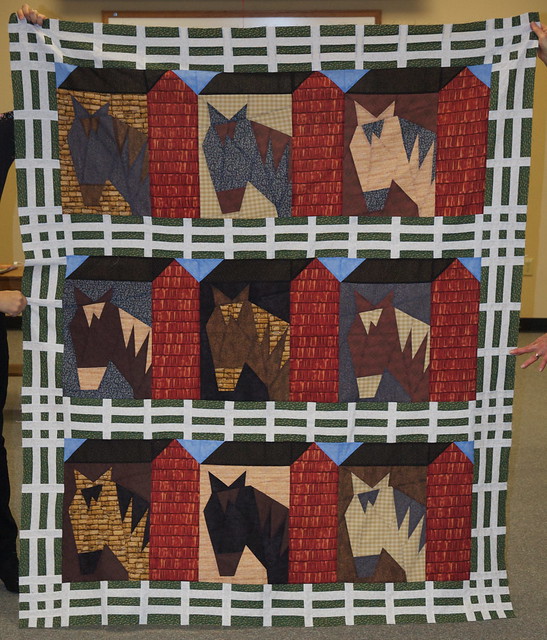
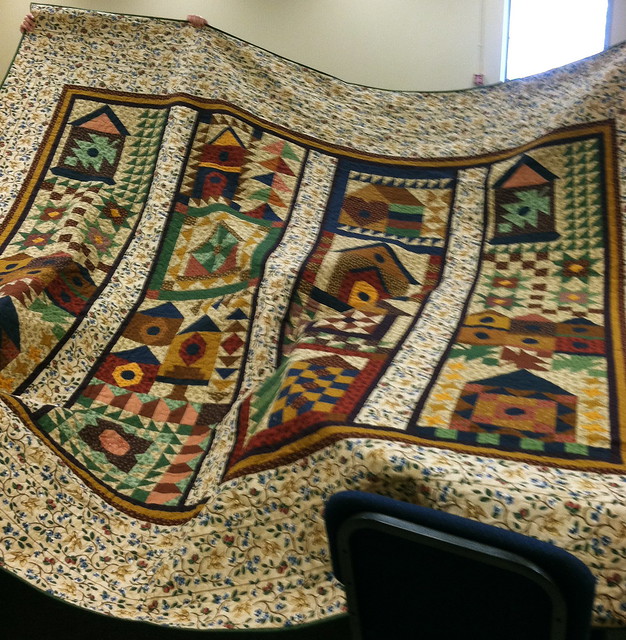
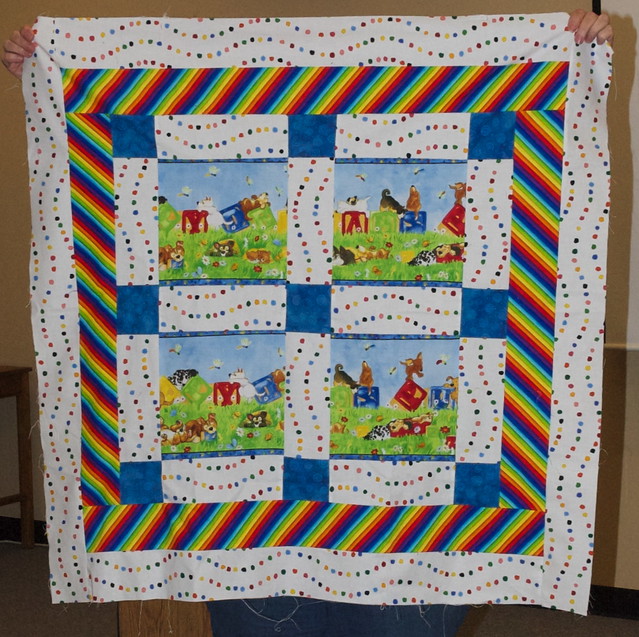
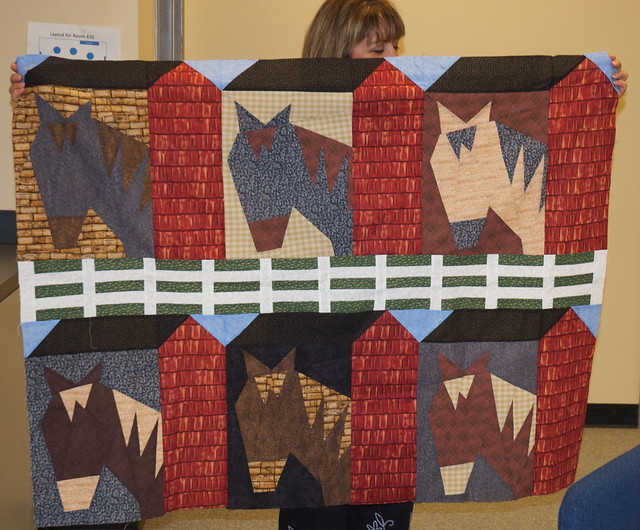
Debbie W show her horse quilt top... done in Buggy Barn style!
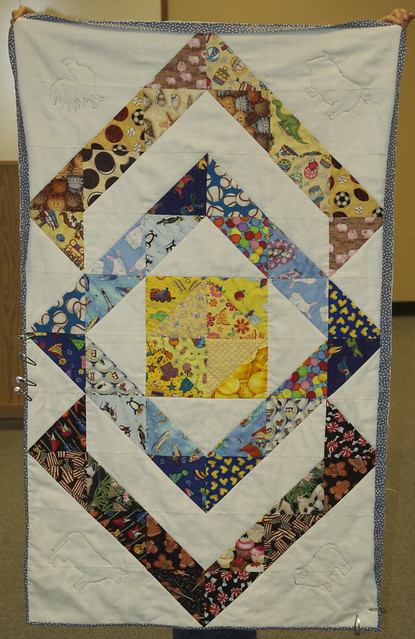
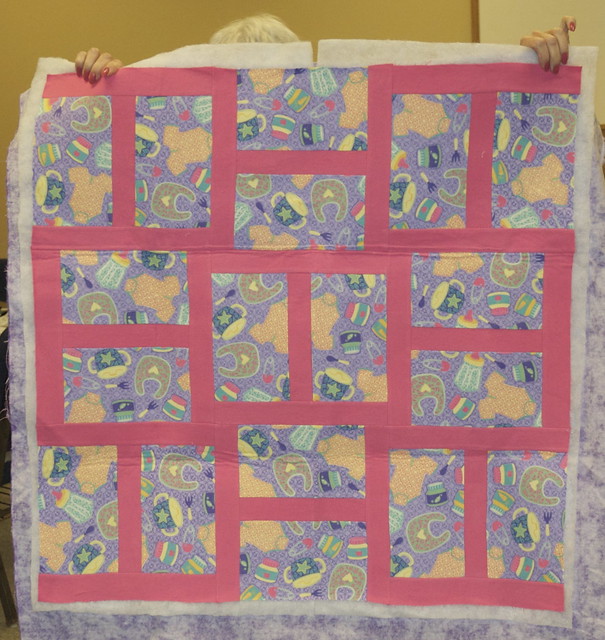
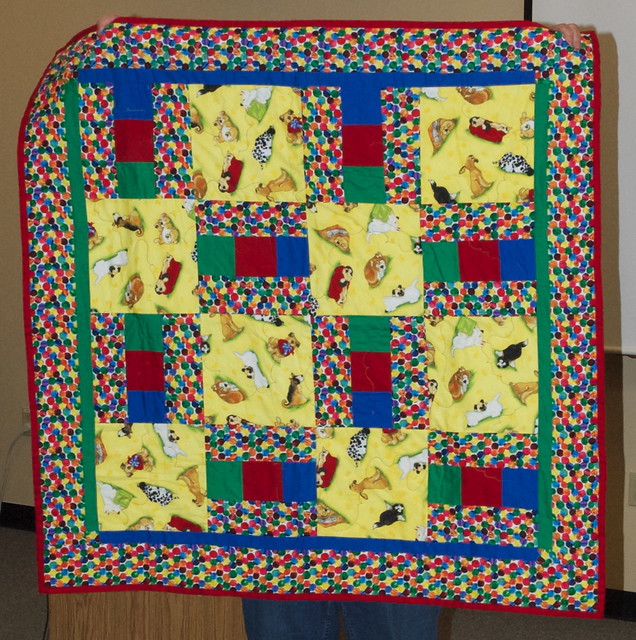
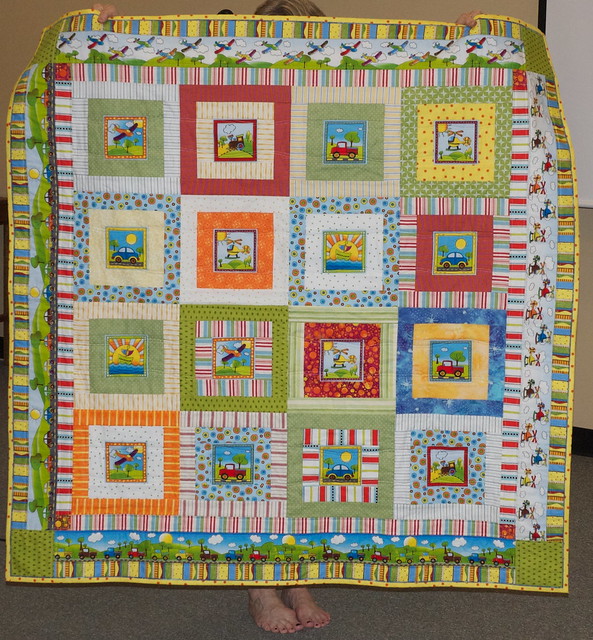
Sherri did this baby quilt that she even free-motion quilted herself!
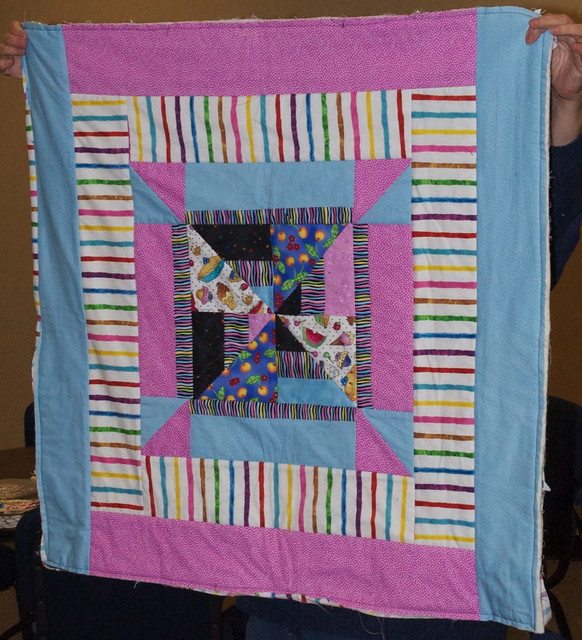
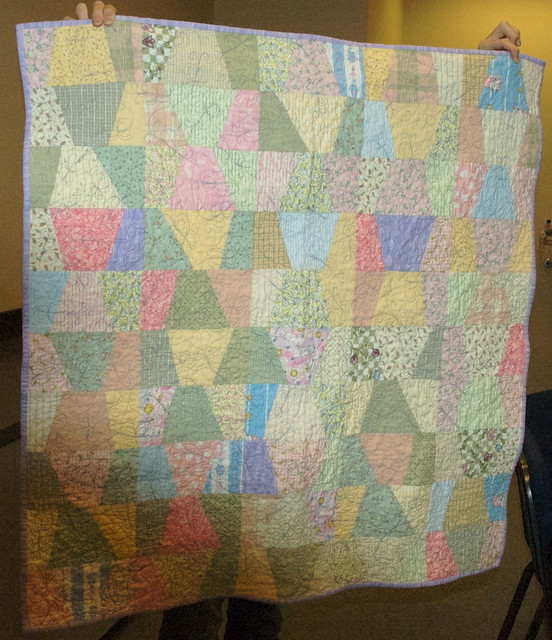
Linda was worried about this one, but it came out great!
Linda made this for her new grandchild - the "wee Wally."
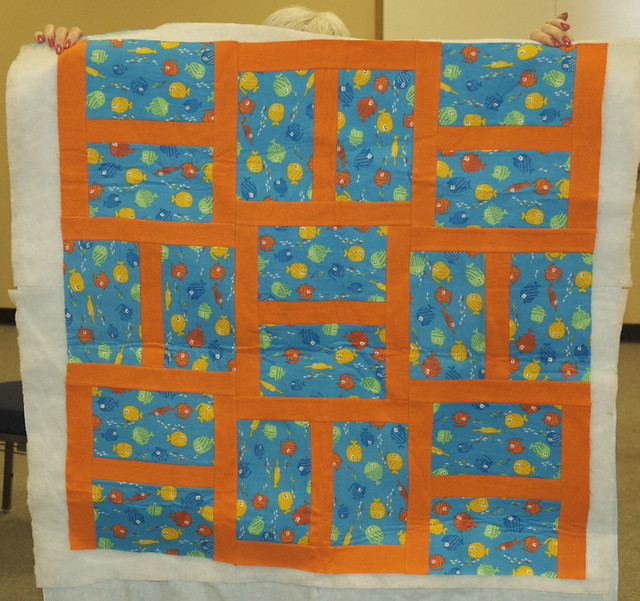
Terry made this baby quilt - with the "H" pattern.
Terry also made this fun quilt!
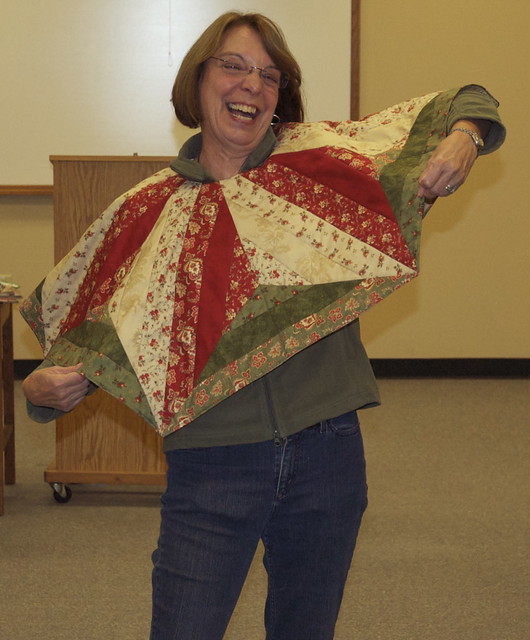
Gail modeled her tree skirt!
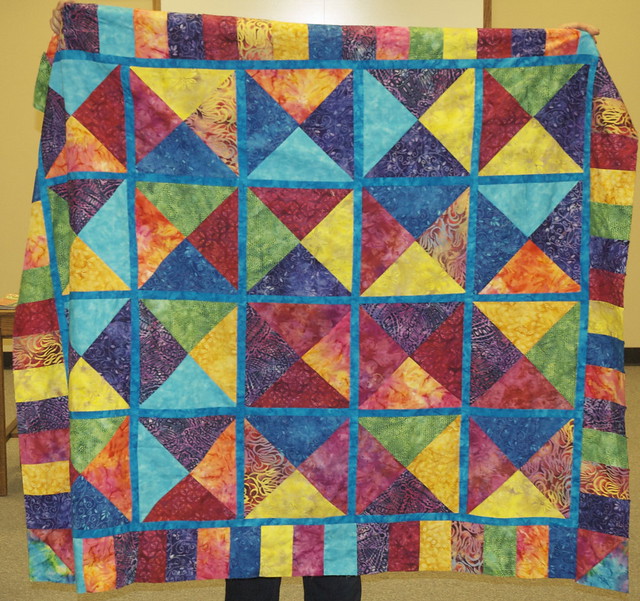
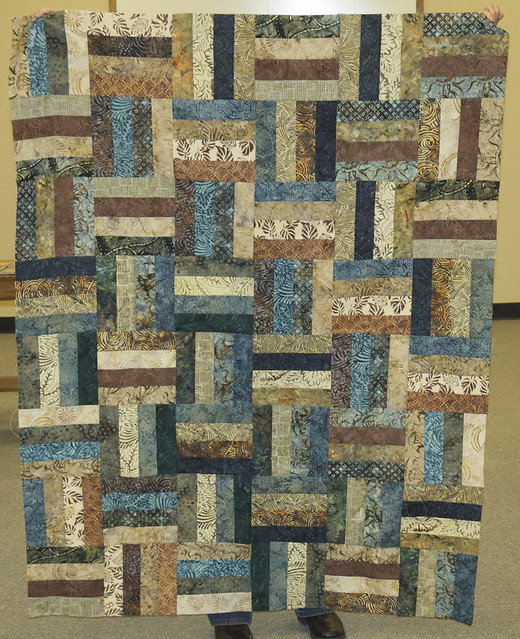
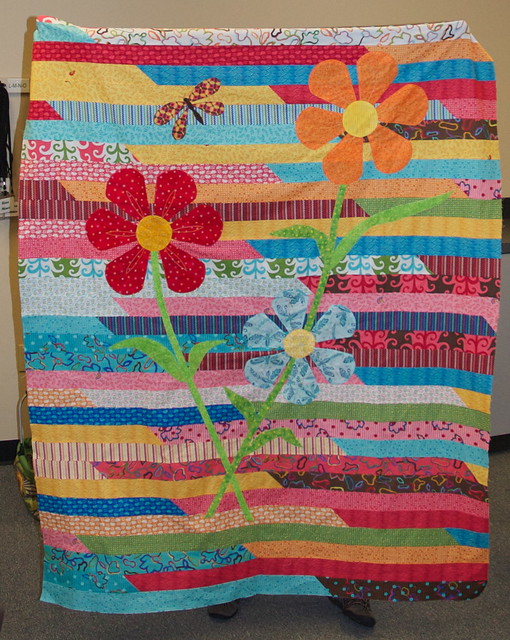
Gail also made this pretty jelly roll quilt.
This is the Comfort Quilt top that we finished on Friendship Quilting Day in October. Many hands make light work!

Saturday, October 1, 2011

September Group Meeting (and a little more)

Photos from group:

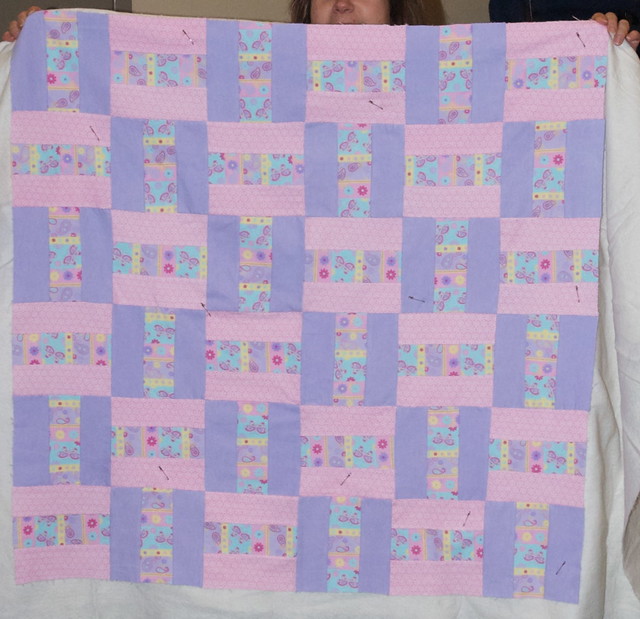
Micha's Baby Quilt
Lori's Jelly Roll Races Quilt - to be for Rich Wisler
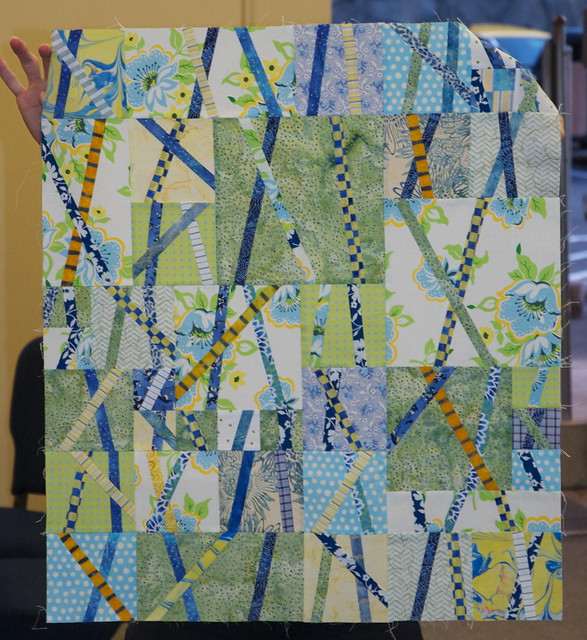
Barb's Artsy Slashing Quilt - hand quilted even!
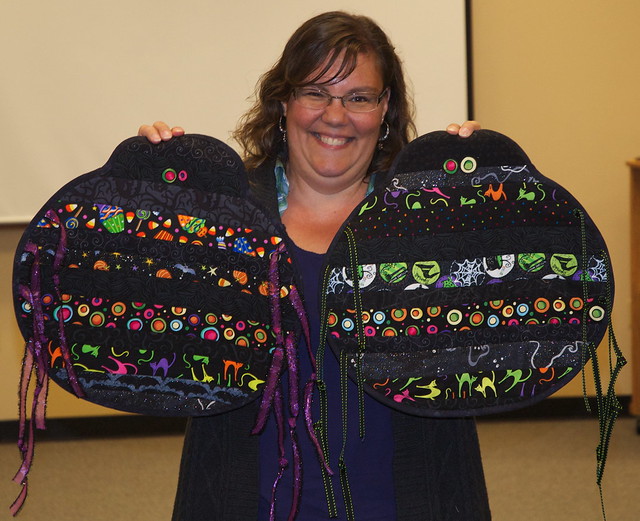
Diana's Quilted Spider Placemats
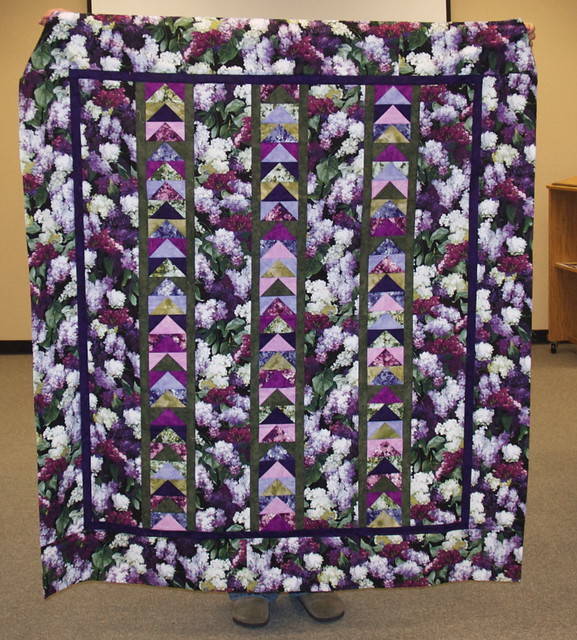
Betsy's Lilacs Quilt
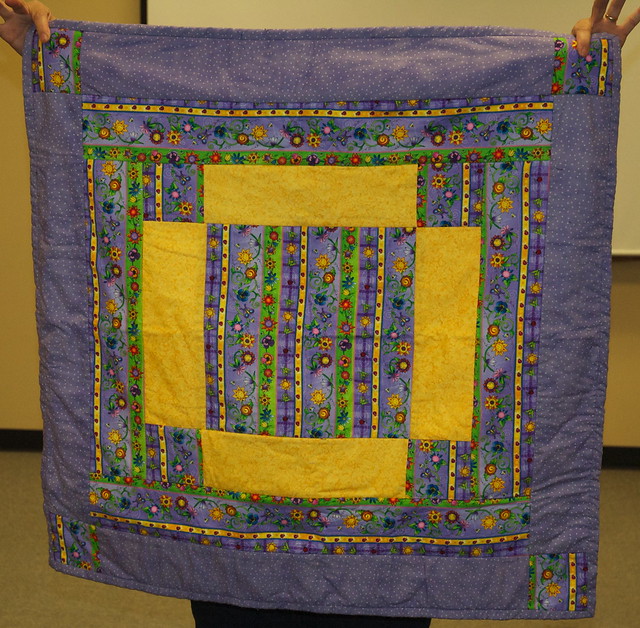
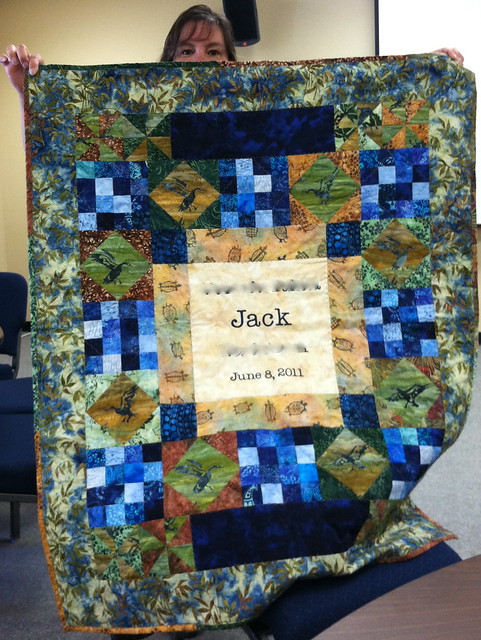
One side of Linda's Baby Quilt
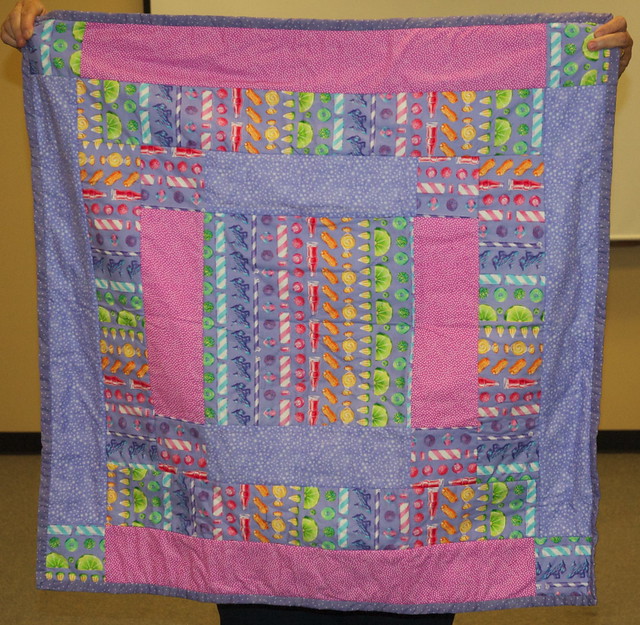
And the other side of Linda's Baby Quilt
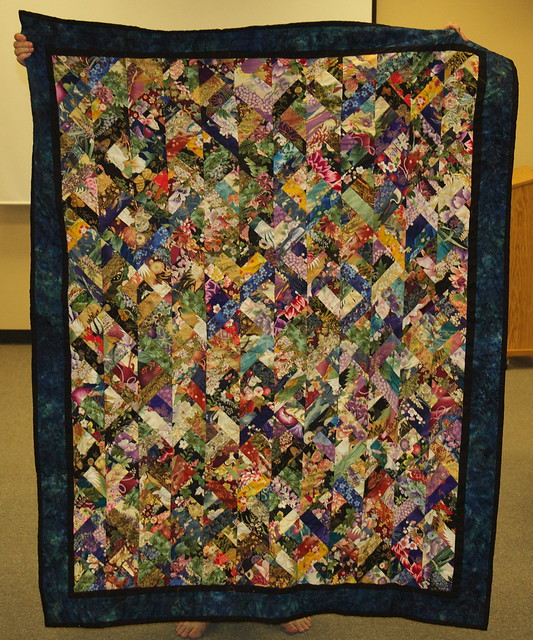
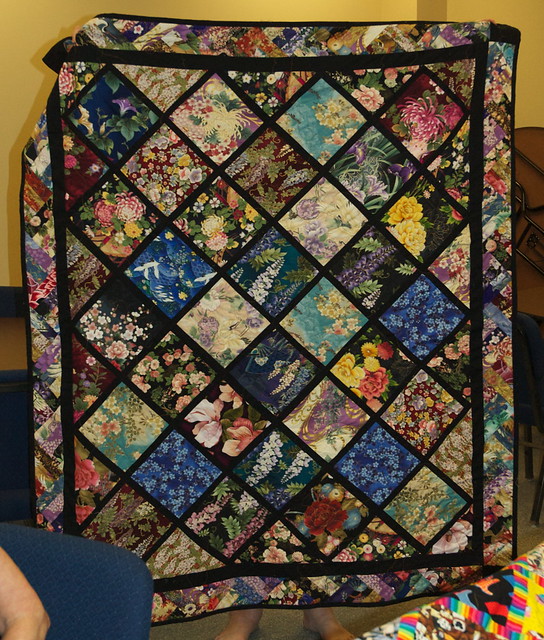
Linda's scrappy Asian Quilt
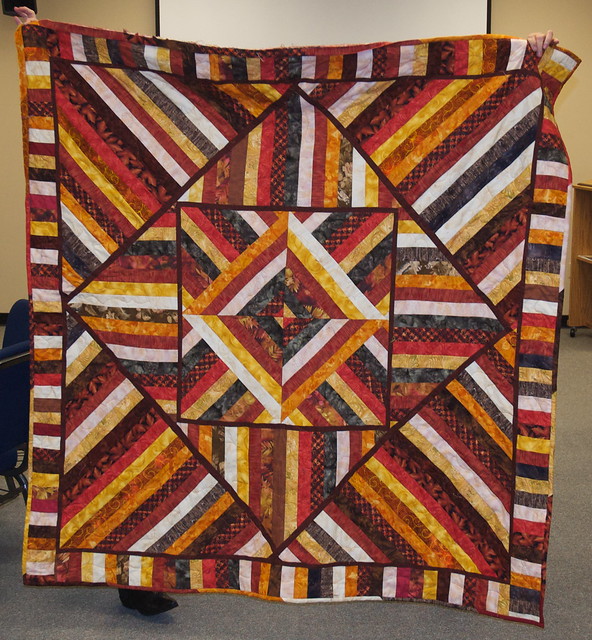
Linda's Warm Colors Quilt
We also had fun at the August Friendship Quilting Day:

Diana's Baby Quilt
Debbie C's Safe Haven!
And at the the August Group Meeting:

Melanie made this for Spain, and donated it to the Comfort Quilts
Val made this cute dress from a
tablecloth from her
daughter's wedding! Clever.
Sherri decorated up her Jelly Roll Races quilt. Cute!
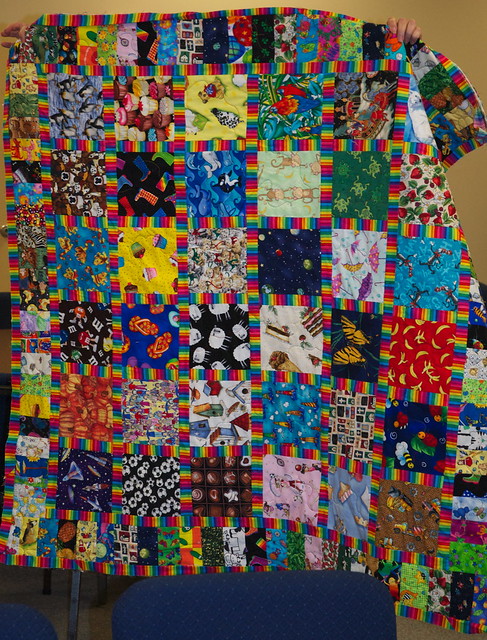
Linda made this cute I Spy type quilt.
Linda made another cute kid quilt.
And Linda also made this fun Asian
themed quilt with her larger scraps.
The start of Barb's Artsy quilt.
Debbie W made this fun Buggy Barn Quilt
- One of these looks like their horse!

Friday, September 30, 2011

Rainbow Quilt

I thought this was adorable - I have enough in my stash to make one of these for baby quilts - anyone have any white fabric they want to contribute?? I may not be able to work on one - but I can cut squares of colors for folks.....sue

http://www.hookedonneedles.com/2011/09/rainbow-quilt-version-two.html

Sunday, September 25, 2011

Jelly Roll Races and Resulting Quilts!

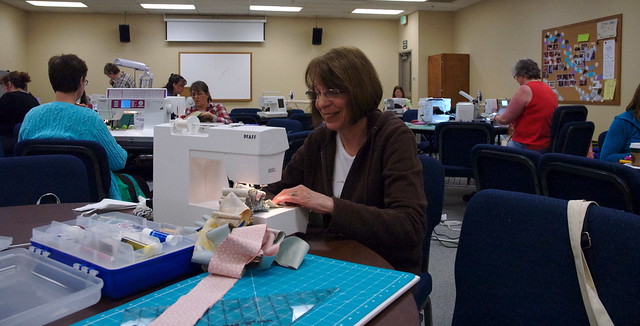
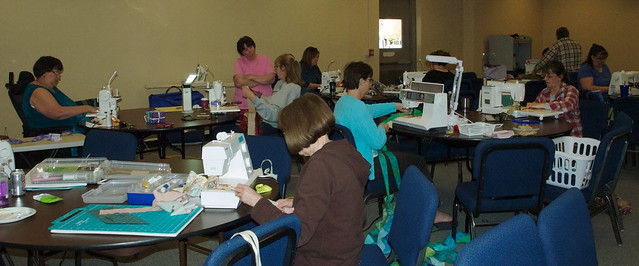
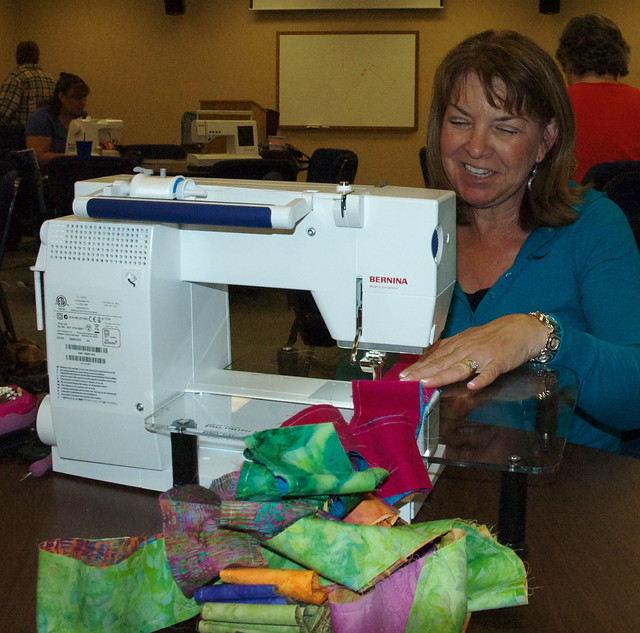
We had a great time in May making Jelly Roll Race quilts! Here is the crew hard at work.
Wendy & Regina


Gail is off!
Cathy got a ton done!


Betsy


Everyone hard at work


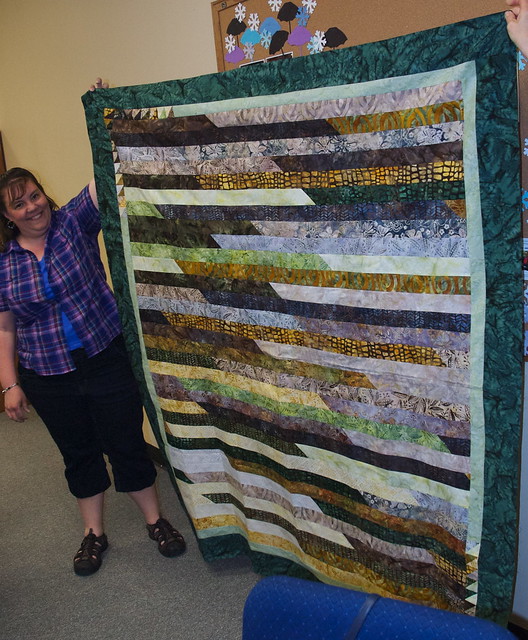
Heidi did hers in fun batiks


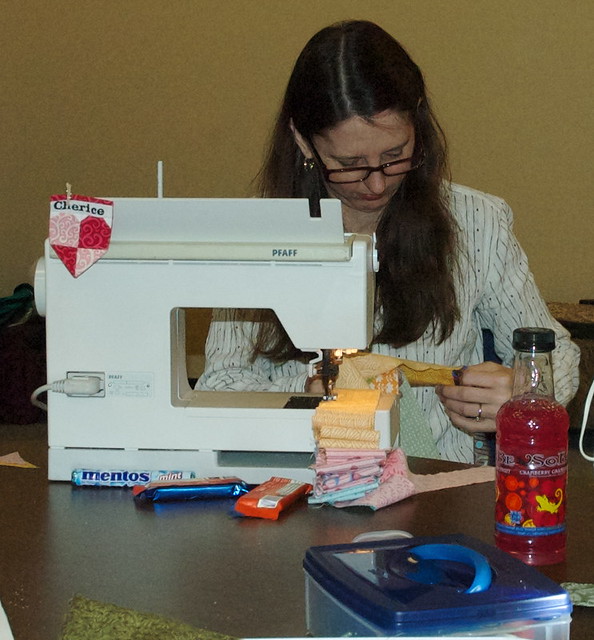
Cherice concentrates


Jennifer created her own design


Brittany's in fun 30's fabrics


Cherice's completed top
Diana's with borders

Wednesday, May 4, 2011

April Group

We had quite a few people at April's group meeting last Monday, including Melody Carpita, who was visiting to see what we were all about! Disorganized sometimes, but we mean well! :-)

We're going to have Jelly Roll races next Friendship Quilting Day, May 14th! Can't wait! All you need to participate is a jelly roll (or 40 2 1/2" x 40" strips), your sewing machine, scissors and thread. We'll start at 9:00, setting up, and doing the "pace lap", sewing our strips together end-to-end. The flag will drop at 11:00! Ladies have been known to have completed a top in 35 minutes! Can't wait!

We did have some Show and Tell:

Debbie W's baby rail quilt
DebbieW was working on a baby rail fence quilt... basting at group!

Linda's quilt to sell
Linda made this quilt to sell.

Linda's baby quilt for the twins #1
Linda made this one for one of her new twin grandsons...

Linda's baby quilt for the twins #2
... and she made this one for the other twin!

Linda's baby quilt
Linda made this Quilt-As-You-Go baby quilt. This is the one side...

and the back
... and this is the back!

Barb's baby quilt
Barb made this adorable quilt for her grandson!

Melody's blocks
Melody is making one of these baby block blocks for her daughter each year. It started out that she was selecting and making the blocks. However her daughter started selecting the fabric herself, and now is even designing the layouts!

Melody's sampler quilt top
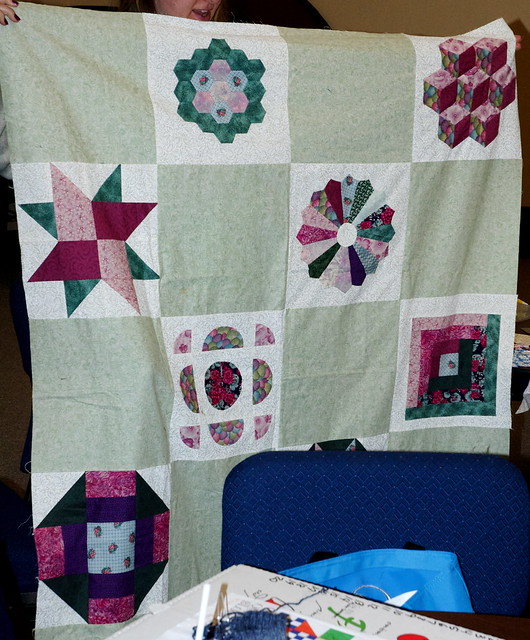
Melody made this while learning to quilt. She seemed apologetic that she had let something sit so long, but clearly she hasn't seen any of our UFO stacks! We all have really old things sitting around to be completed! No pressure Melody!

Betsy's baby quilt
Betsy made this baby quilt that had been started by someone else. She found the blocks in the baby quilt fabric box, and made some more. This is her April 2004 UFO Challenge quilt! Quilted and done!